How Long to Cook Chicken Breast in Air Fryer at 400°F
Key Takeaways
- Cooking times for chicken breast in an air fryer at 400°C depend on size, with small breasts generally requiring 10–12 minutes, medium breasts 12–16 minutes, and large breasts 16–20 minutes, while frozen and bone-in varieties may require additional time and monitoring.
- Thickness of the chicken breast impacts heat transfer and thus total cook time, so use a food thermometer to check that the internal temperature has reached 74°C before serving.
- Each air fryer model is different, so wattage and basket size affect airflow and heat distribution—always refer to your appliance’s manual.
- If you’re brining or marinating, this adds flavor and helps the chicken retain moisture, but if you’re breading or coating, you may need to reduce the cook times to avoid a soggy or undercooked exterior.
- Preheating the air fryer, pounding chicken to even thickness, and applying effective seasoning are key preparation steps for consistent doneness and increased flavor.
- To prevent dryness and inconsistent outcomes, let the chicken rest post-cooking, ensure doneness at the thickest section, and experiment with adaptable dishes like salads, sandwiches, and worldwide meal prep inspirations.
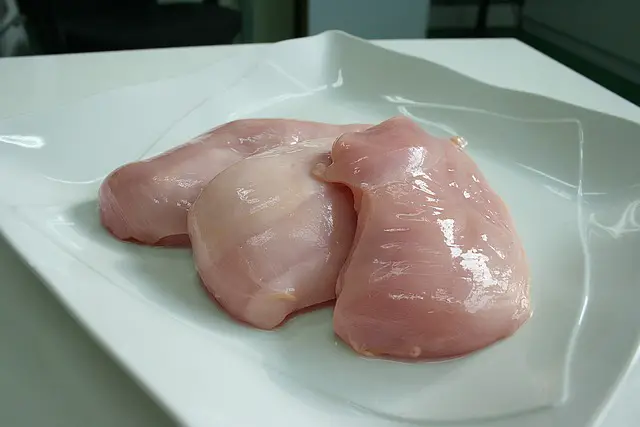
How long you should cook chicken breast in air fryer at 400? I ended up cooking the chicken 15 to 18 minutes, getting the best results from boneless, skinless pieces. Thicker cuts might require a couple of minutes additional time, while thinner pieces wrap up more quickly.
For more even cooking, flip the chicken halfway through to keep some moisture and juiciness. Because air fryers cook by circulating hot air around the food, allowing the pieces to sit in a single layer is ideal.
For doneness, a food thermometer should register 74°C (165°F) in the thickest portion. A lot of people use a light spray of oil and seasonings for added flavor. Following is some simple guidance for speedy air fryer cooking.
How Long to Cook Chicken Breast in Air Fryer at 400°F

Air fry the chicken breast for 10-15 minutes at 400 degrees for a speedy and evenly-cooked chicken breast. How long it takes depends on the size, starting temperature and whether or not the breast is boneless or bone-in.
Use a meat thermometer to check the thickest part for doneness – you want at least 162°F (72°C) before resting. Allow the chicken to rest 5-10 minutes post-cooking to maintain juicy breasts.
1. Small (5-7 oz)
For small chicken breasts, they’ll take 10-12 minutes at 400° F. These thinner cuts heat through quick and typically end up juicy, if not overcooked.
Lay them out in one layer in air fryer basket for optimal airflow. Check its temperature at 10 minutes. If it’s under 162°F (72°C), add 2-3 minutes.
Small breasts get dried out when overcooked – so keep a close watch. Let them rest before slicing to keep the juices in.
2. Medium (8-10 oz)
Medium breasts require approximately 13-15 minutes at 400°F. Look for browning on the exterior and clear juices at the thickest part.
Use a thermometer for accuracy. If the temperature is below 162°F, pop back in the air fryer for an additional 2-3 minutes. Try to keep your basket evenly spaced – crowding will slow the cook time.
Let rest to retain the juices. If you are preparing multiple medium breasts, stagger them. That way, the air circulates around every piece, so no areas undercook.
3. Large (11+ oz)
Large chicken breasts, over 11 oz, need 16-20 minutes at 400°F. These thick pieces can be tricky as the outside may brown before the inside is done.
Turn halfway for even color and crispness. ALWAYS check the thickest part for DONENESS! If the internal temperature still isn’t high enough, add more time in 2-3 minute bursts until it’s good to eat.
4. Frozen Breasts
Begin with 18-20 minutes at 400°F for frozen chicken breasts. Flip halfway to assist with cooking through.
Check temperature at the thickest spot after 18 minutes. If not, add 2-3 minutes more as necessary. Let rest before serving.
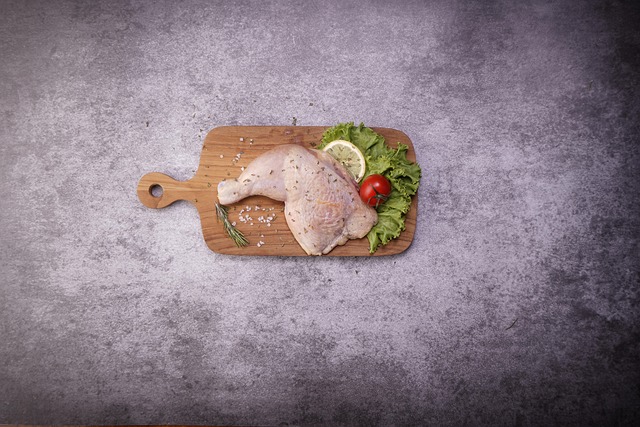
5. Bone-In Breasts
Bone-in breasts take longer — usually 20-25 minutes at 400°F. Cook skin side down for the first half, then flip.
Check the thickest part with a thermometer and top up if it needs more.
Key Cooking Factors

Cooking chicken breasts in an air fryer at 400 F involves pondering a few things. These factors impact the cooking time, flavor and safety of the final dish. Every factor, from the meat’s thickness to how packed the basket becomes, influences the outcome.
Chicken Thickness
Thickness is what changes everything. A thin chicken breast, approximately 1/2 to 3/4 inch thick, takes less time—typically 15 to 20 minutes at 400°F (204°C). If the breast is big or lumpy, it can take as long as 30 minutes. Pounding the chicken flat makes it cook even, so you don’t end up with one dry side and the other side underdone.
If you begin with frozen chicken, the rules shift. At 400°F it will require closer to 30 minutes, and you have to flip it halfway through. ALWAYS test the thickest part with a thermometer. Each piece needs to reach 165°F (74°C) to be safe.
Air Fryer Model
All air fryer brands work a bit differently. Others disperse air more evenly, so they roast faster and more uniform. Basket size counts as well. A mini basket accommodates two breasts perfectly, but overload it and things get slow with cold spots.
For optimal results, cook only two or three at a time. Preheating your air fryer to 400°F makes the cook more consistent, regardless of the model. Some air fryers come with digital timers and presets, but always go with a thermometer for peace of mind.
If you see the chicken browning too quickly, consider a lower rack or a quick foil cover.
Brine or Marinade
Want some food science? Brine or marinade your chicken breasts if you want to get fancy with it! A simple brine–water with salt and perhaps sugar–maintains juiciness after cooking. Lemon- or herb- or spice marinades add flavor.
For optimal results, allow the chicken to rest in the brine or marinade for a minimum of 30 minutes prior to air frying. Make sure to pat those breasts dry before cooking. Brushing with olive oil just before you cook aids the outside in browning, and keeps the inside moist.
Breading or Coating
Adding breading or a coating affects cook time slightly. The outside needs to crisp up, so don’t be afraid to spread them out a little more. Tap off excess crumbs prior to placing the chicken in the basket.
Breading-coated chicken can brown quickly, so peek in after 15 minutes or so and turn if necessary. Too much breading may come off if you flip the chicken too early. Allow it to cook around halfway through before turning.
Perfect Preparation Steps

Air fryer chicken breast at 400°C cooks juicy chicken if you begin with thoughtful prep. Care at every step, from pounding to seasoning, makes it both taste so much better and be much more nutritious.
Even Pounding
Pound chicken breasts to an even thickness so they cook at the same rate. With a rolling pin or meat mallet, pound the chicken between two sheets of parchment. Concentrate on the thickest part, pressing tenderly until the entire piece is uniform in thickness, around 1.5 – 2 cm.
This step prevents the edges from drying out while the center cooks through.
Effective Seasoning
Pat the chicken dry with paper towels then season. This easy trick assists seasonings adhere and creates a crispier coating. Mix together the brown sugar, paprika, oregano, garlic powder, onion powder, salt and pepper in a small bowl.
Rub this mixture on all sides. For more flavor, baste chicken with olive oil beforehand. If you have time, allow to marinate in Italian dressing or a yogurt-spice mix 10+ minutes. Even quick marinating time supercharges flavor and tenderness.
If you’re using global spices, experiment with smoked paprika or curry for a kick.
Preheating Importance
Tip #2) ALWAYS preheat your air fryer. This gets the basket HOT, so the chicken starts to cook right away instead of steaming. Most air fryers require 2-3 minutes to attain 400°C.
Arrange the chicken in one layer. Don’t intersect. Cook at 400° for 8-15 minutes (depending on thickness). Turn over halfway for even browning. Use a digital thermometer to check for 74°C (165°F) in the thickest part.
This is a critical step for food safety and juicy outcomes. With 380°C, around 18 minutes cooking time, but always measure the inside.
Allow chicken to rest 5-10 minutes post cooking. This traps juices, so the meat remains moist when cut.
Why Temperature Beats Time
It’s depending on the right temperature, not just the timer, that keeps chicken breast safe and tasty in any air fryer. Size, shape, and even the air fryer type can mess with time, so temperature is definitely a safer bet.
The Safety Zone
Chicken has to get to 74C (165F) inside in order to annihilate bad germs. Time alone can’t guarantee this. Thin fillets could appear cooked on the outside but still be raw in the center. The only certain way is to employ a meat thermometer. Poke it in the meatiest part, and if it comes out 74°C, you’re good to go.
Works every single time regardless if the chicken is big or small, straight from the fridge, or already at room temp. The danger of missing this stage is genuine. Undercooked chicken can make you sick with food poisoning, everywhere. If you cook by time, on the other hand, there’s always the risk the interior doesn’t reach that safety threshold — particularly when the chicken pieces are uneven sizes.
The Juiciness Factor
Temperature control matters to texture. High heat, say 204°C (400°F), cooks chicken quickly, but the outer coating desiccates if left too long. Many home cooks lower the temp to about 180C (356F) and cook longer to retain more juice, but then you gamble undercooking if you don’t inspect inside.
So, temperature is not just about safety—it determines flavor and texture as well. Even minor variations in air fryer airflow or basket spacing influence cooking. Two chicken breasts, one thick and one thin will complete at different times, but both have to reach 74°C inside.
If you merely watch the clock, one can turn dry while the other remains raw. That’s why pros always trust a thermometer — not just a timer or cut.
The Resting Rule
When chicken emerges from the air fryer, it continues to cook for a minute or two. This “carryover” raise can push the center past 74°C, sealing in juices and finishing off any last germs. Allowing the chicken to rest before slicing keeps it moist.
If you slice immediately, steam and juices leak out, resulting in dried bites. Resting lets the fibers relax, which means it stays tender. Such an easy thing, but it really improves the safety and flavor.
Solving Common Problems
Air frying chicken breast at 400 degrees is fast and convenient but not without its hurdles. A lot of cooks, particularly air fryer beginners, encounter dry meat, inconsistent cooking, or limp crust. Understanding how to deal with these issues means you achieve superior results each time.
Dry Chicken
Dry chicken, the bane of higher heat or longer cook times. Chicken breasts don’t have much fat, so they dry out quickly if you leave them too long in the air fryer. To keep ’em juicy, roast at 400°F (roughly 204°C) for 12-15 minutes, depending on their thickness.
Make sure you always do the inside with a meat thermometer. Shoot for 74°C (165°F). Take the chicken off as soon as it reaches that mark. Allow it to rest for 5 – 10 minutes before slicing. This rest allows the juices to redistribute through the meat.
Seasoning with something simple like salt, pepper and garlic powder keeps flavors uncomplicated and easy to customize. A sprinkle of olive oil goes a long way in keeping the surface moist.
Uneven Cooking
Air fryers tend to leave some things burned and some things undercooked. This occurs if chicken breasts are uneven sizes or layered on top of each other while cooking. To remedy this, select breasts that are similar in size or pound them to an even thickness.
Lay them flat in the basket, leaving room between them so air can circulate around each piece. If you’re cooking more than one layer, turn or flip the chicken halfway through. If your air fryer cooks uneven, swap breast for thigh, as thighs are more forgiving with heat.
ALWAYS CHECK THE THICKEST PART WITH A THERMOMETER! Slice into the middle if you’re uncertain, seeking transparent juices and zero pink.
Soggy Exterior
Nothing can kill the dream of air-fried chicken breast quite like a soggy crust. Excess moisture or overcrowding in the basket traps steam, which softens the exterior. To achieve a crispy crust, dry the chicken with paper towels prior to seasoning.
Lightly oil, but don’t go crazy. Don’t fill the basket to bursting. Air must be allowed to migrate to make the outside crisp. For added crunch, sprinkle with a light layer of breadcrumbs or panko.
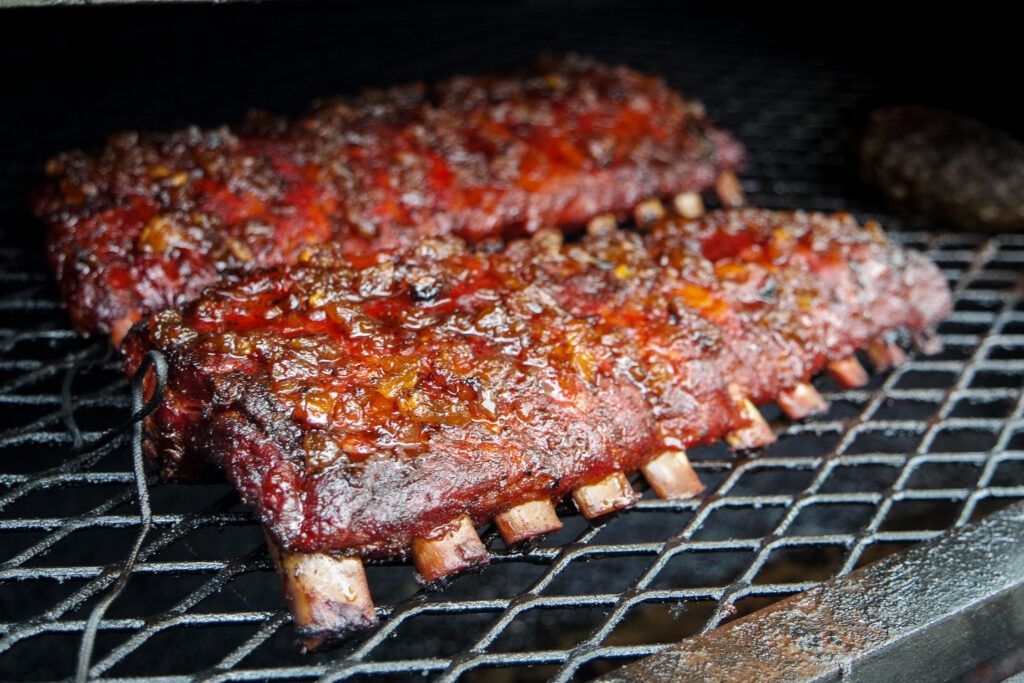
Grilling hot and fast helps seal in juice and get the outside golden.
Creative Serving Ideas
Air fryer chicken breast is a versatile meal building block. It’s at home in lots of international dishes, works with multiple diets, and can be prepared in advance to save hectic weeks.
Salads
Sliced air fryer chicken breast is great as a salad topper on mixed salads. The chicken gives you a satisfying bite and keeps salads satiating, which is great for those looking for a well-rounded meal. Serve warm or cold, tossed with mixed greens, tomatoes, cucumbers, and a simple olive oil dressing.
For a bit of extra pizzazz, dice up the chicken and mix it with grains such as quinoa or bulgur. Throw in some chopped herbs, bell peppers and a squeeze or lemon. The chicken’s mild flavor goes great with just about any salad veggie, and the texture remains sturdy, even with robust dressings.
Sandwiches
Sandwiches or wraps with air fryer chicken breast are another delicious option. Slice it into strips or thin slices and layer with crisp lettuce and thin sliced tomato for a balanced sandwich. The chicken’s subtle flavor lends itself well as a canvas for lashed-on spiced spreads or sauces.
Have leftover air fryer chicken breast chunks? Blend it with a light mayo or yogurt dressing for a chicken salad sandwich. This swap is great for anyone looking for a leaner alternative to ham or other deli meat.
Or, use the chicken to stuff into pita pockets or top a veggie wrap with a little hummus. For an easy lunch, throw together a chicken breast on a whole grain roll with roasted peppers and a slice of cheese. The outcome is easy, satisfying, and perfect for meal prep.
Main Courses
Serve air fryer chicken breast as an entré alongside mashed potatoes or steamed vegetables. It’s a great protein topping for soups, like chicken pot pie soup, or sprinkled into veggie lo mein for some added protein.
Others include leftover chicken instead of ham in cheesy scalloped potatoes. The chicken’s subtle flavor mixes well with rich sauces and carb-heavy sides, providing additional options for those in search of a straightforward but satiating meal.
Meal Prep
Air fryer chicken breast can be prepared ahead of time. It keeps nicely in the fridge for three to four days, therefore it is great for meal prep. Diced or sliced, it’s convenient to take and use for on-the-fly lunches and snacks or as a salad or soup topper.
Conclusion
Cooking chicken breast in the air fryer at 400°C provides speedy, delicious and even cooking. Utilize a food thermometer to test for doneness. Air fryers cook quick, so keep an eye on the timer and monitor the thickness of each piece. Apply a basic spice rub or quick marinade for added taste. Serve with fresh salad or warm rice for a complete meal. For juicier chicken, rest before slicing. Every kitchen and air fryer operates slightly differently, so tweak as you cook. For additional quick meal hacks or to post your results, connect with our juried learning group online. Stay hungry, stay cookin’ and experiment with making your food simple and damn tasty.
Frequently Asked Questions
How long should I cook chicken breast in an air fryer at 400°C?
Flip halfway to cook evenly.
Do I need to preheat the air fryer before cooking chicken breast?
Yup, preheating the air fryer 3–5 minutes assists the chicken breast in cooking evenly and makes it more textured.
How do I know when the chicken breast is fully cooked?
Verify with a meat thermometer. Safe temperature is 74 C (165 F)
Should I use oil when air frying chicken breast?
A light coat of oil aids in moistness and crispiness, but is not mandatory.
Can I cook frozen chicken breast in the air fryer?
Yes, but add 5–7 minutes to the cook time. Do be sure to check internal temperature for safety.
What is the best way to season chicken breast for the air fryer?
Season with salt, pepper and your favorite spices or marinades. Sprinkle chicken evenly for best flavor.
Why is my air-fried chicken breast dry?
Overcooking is the culprit. I’d recommend a thermometer + don’t overcook past 74°C (165°F) for juicy results!
0 Comments